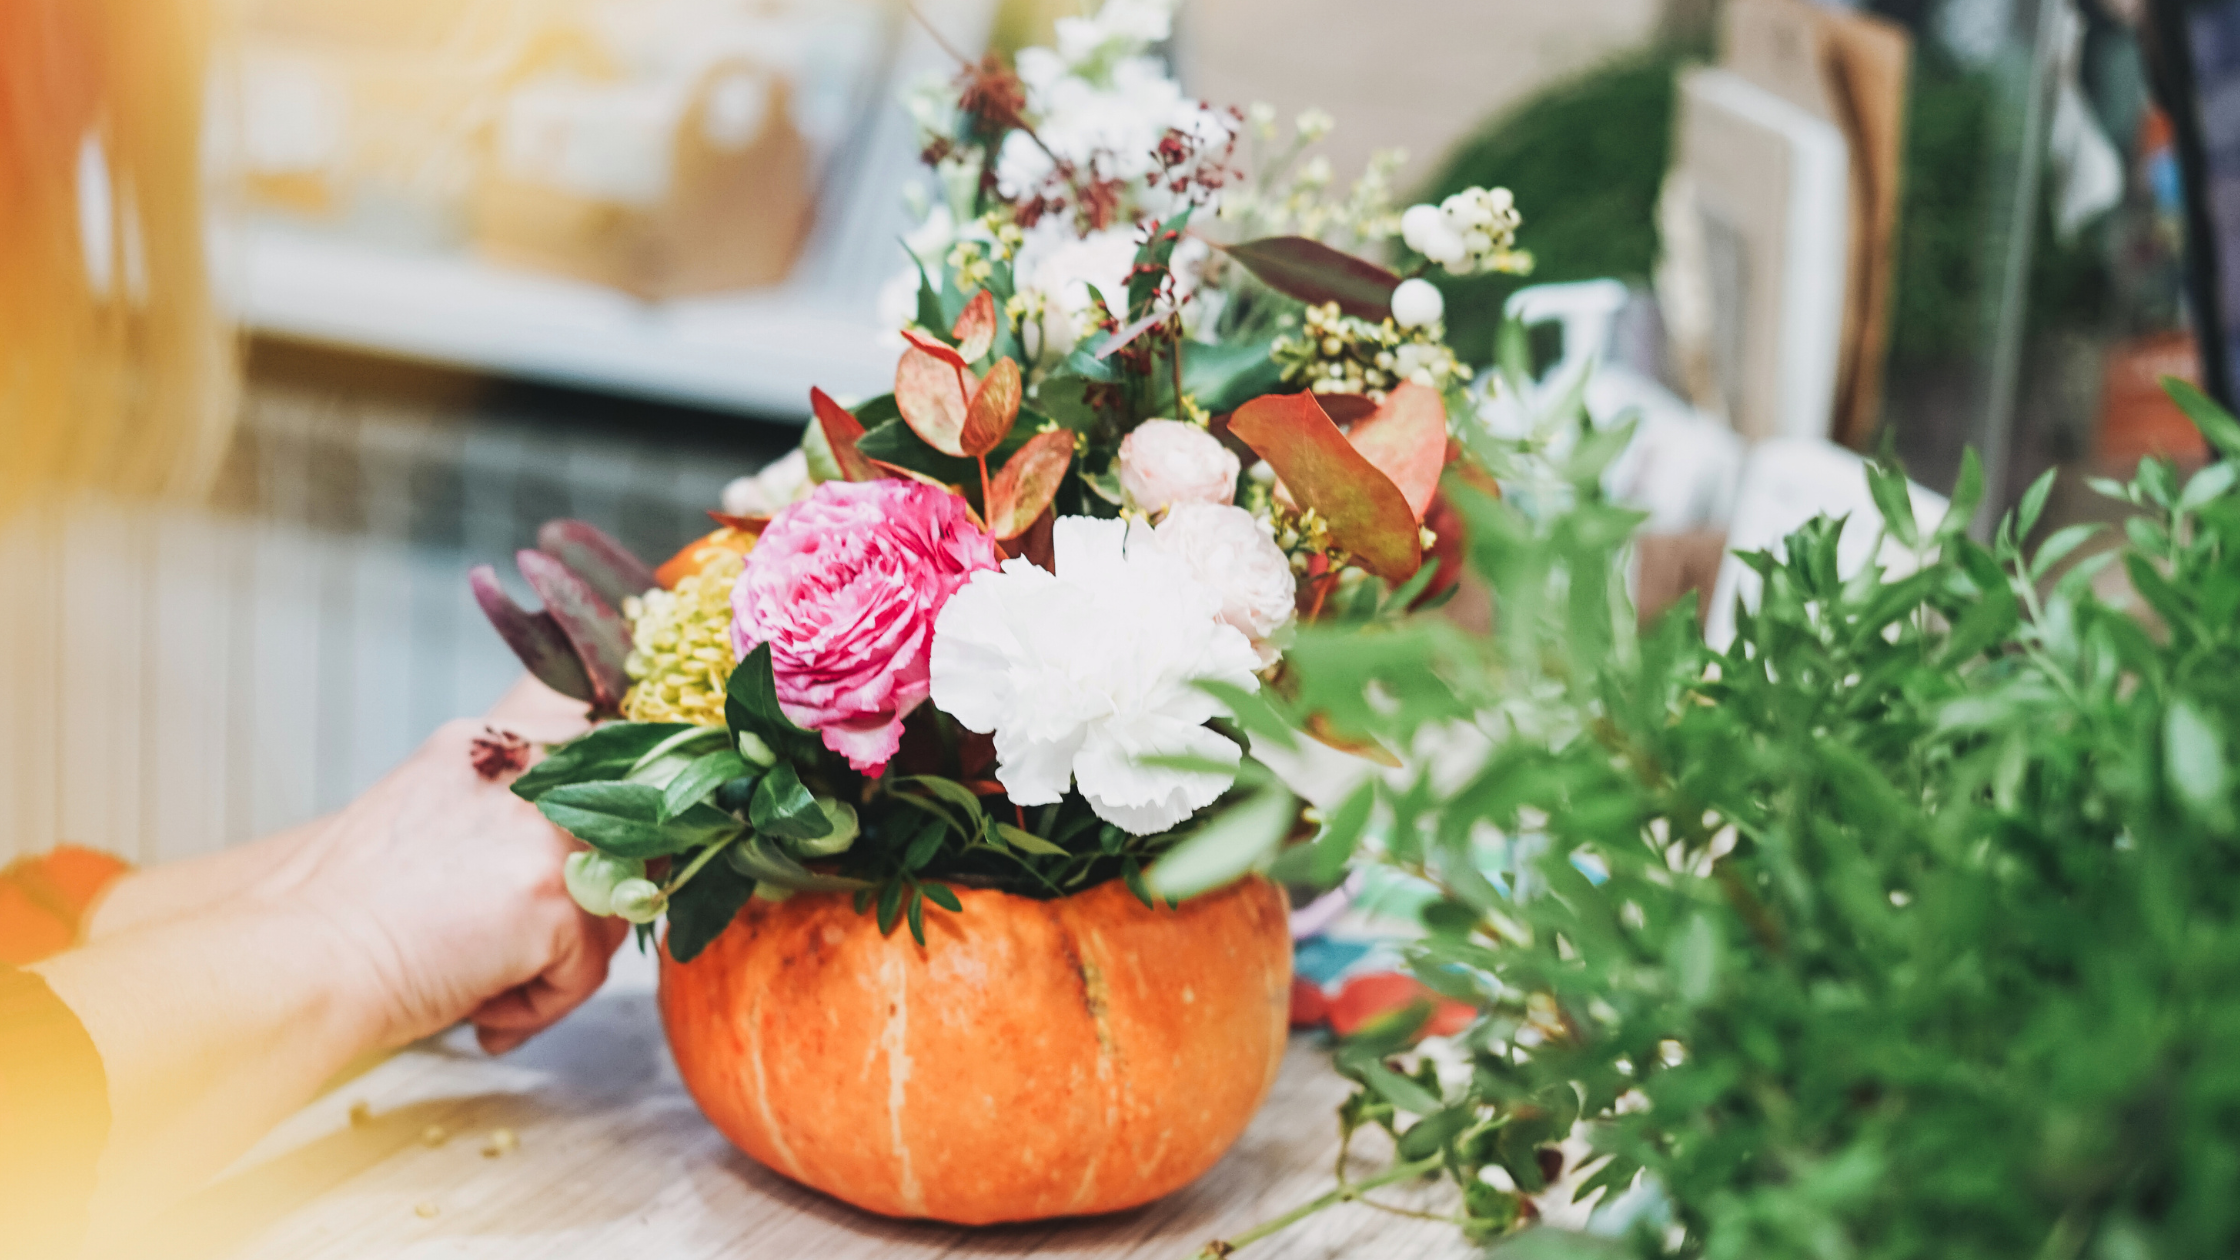
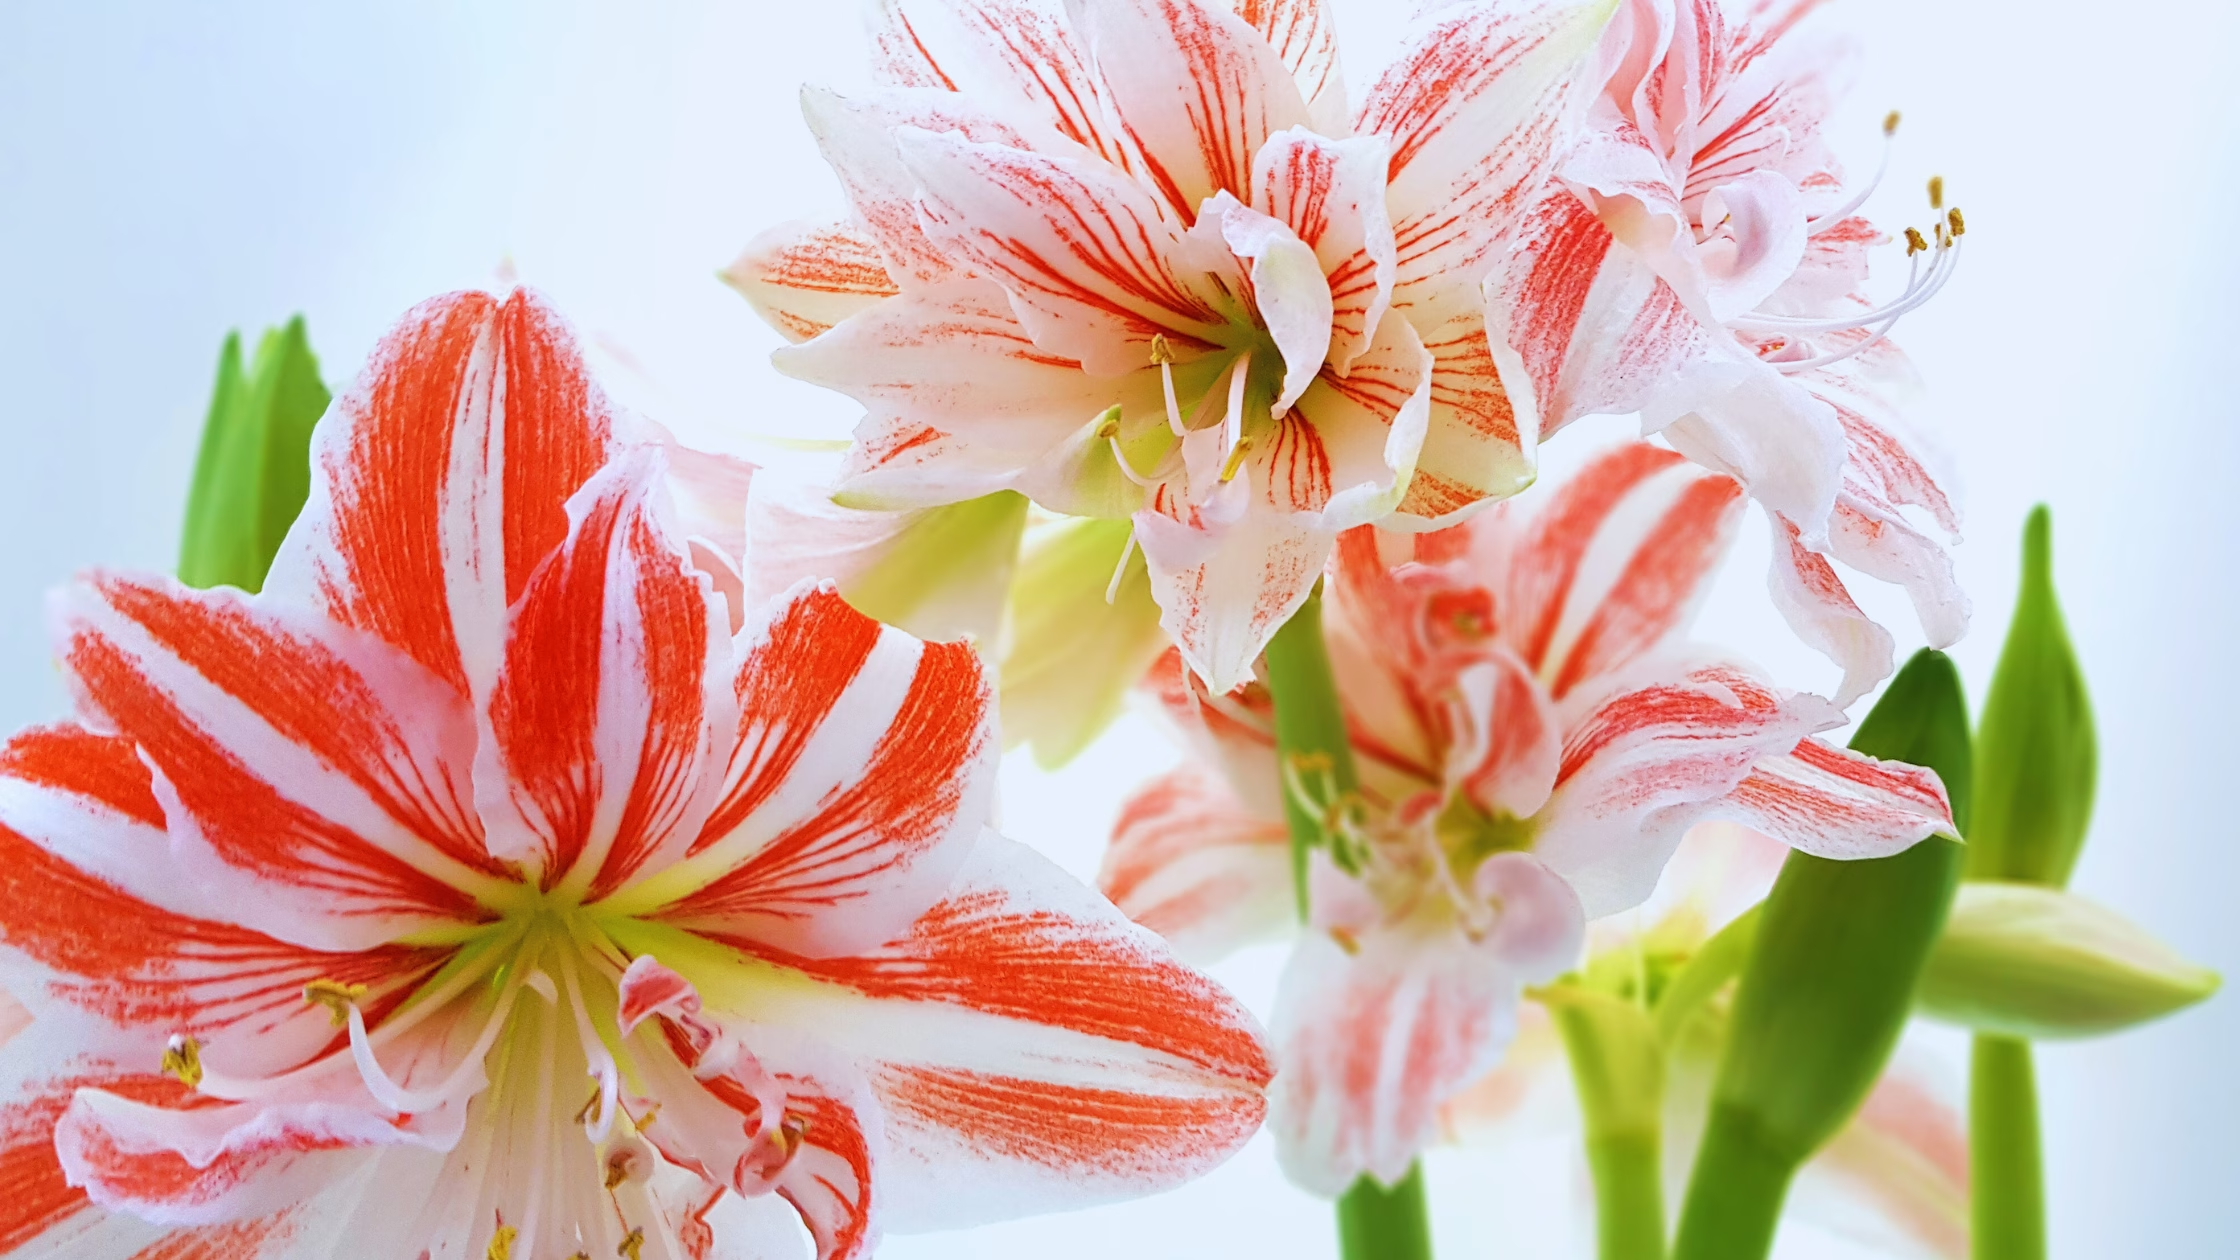
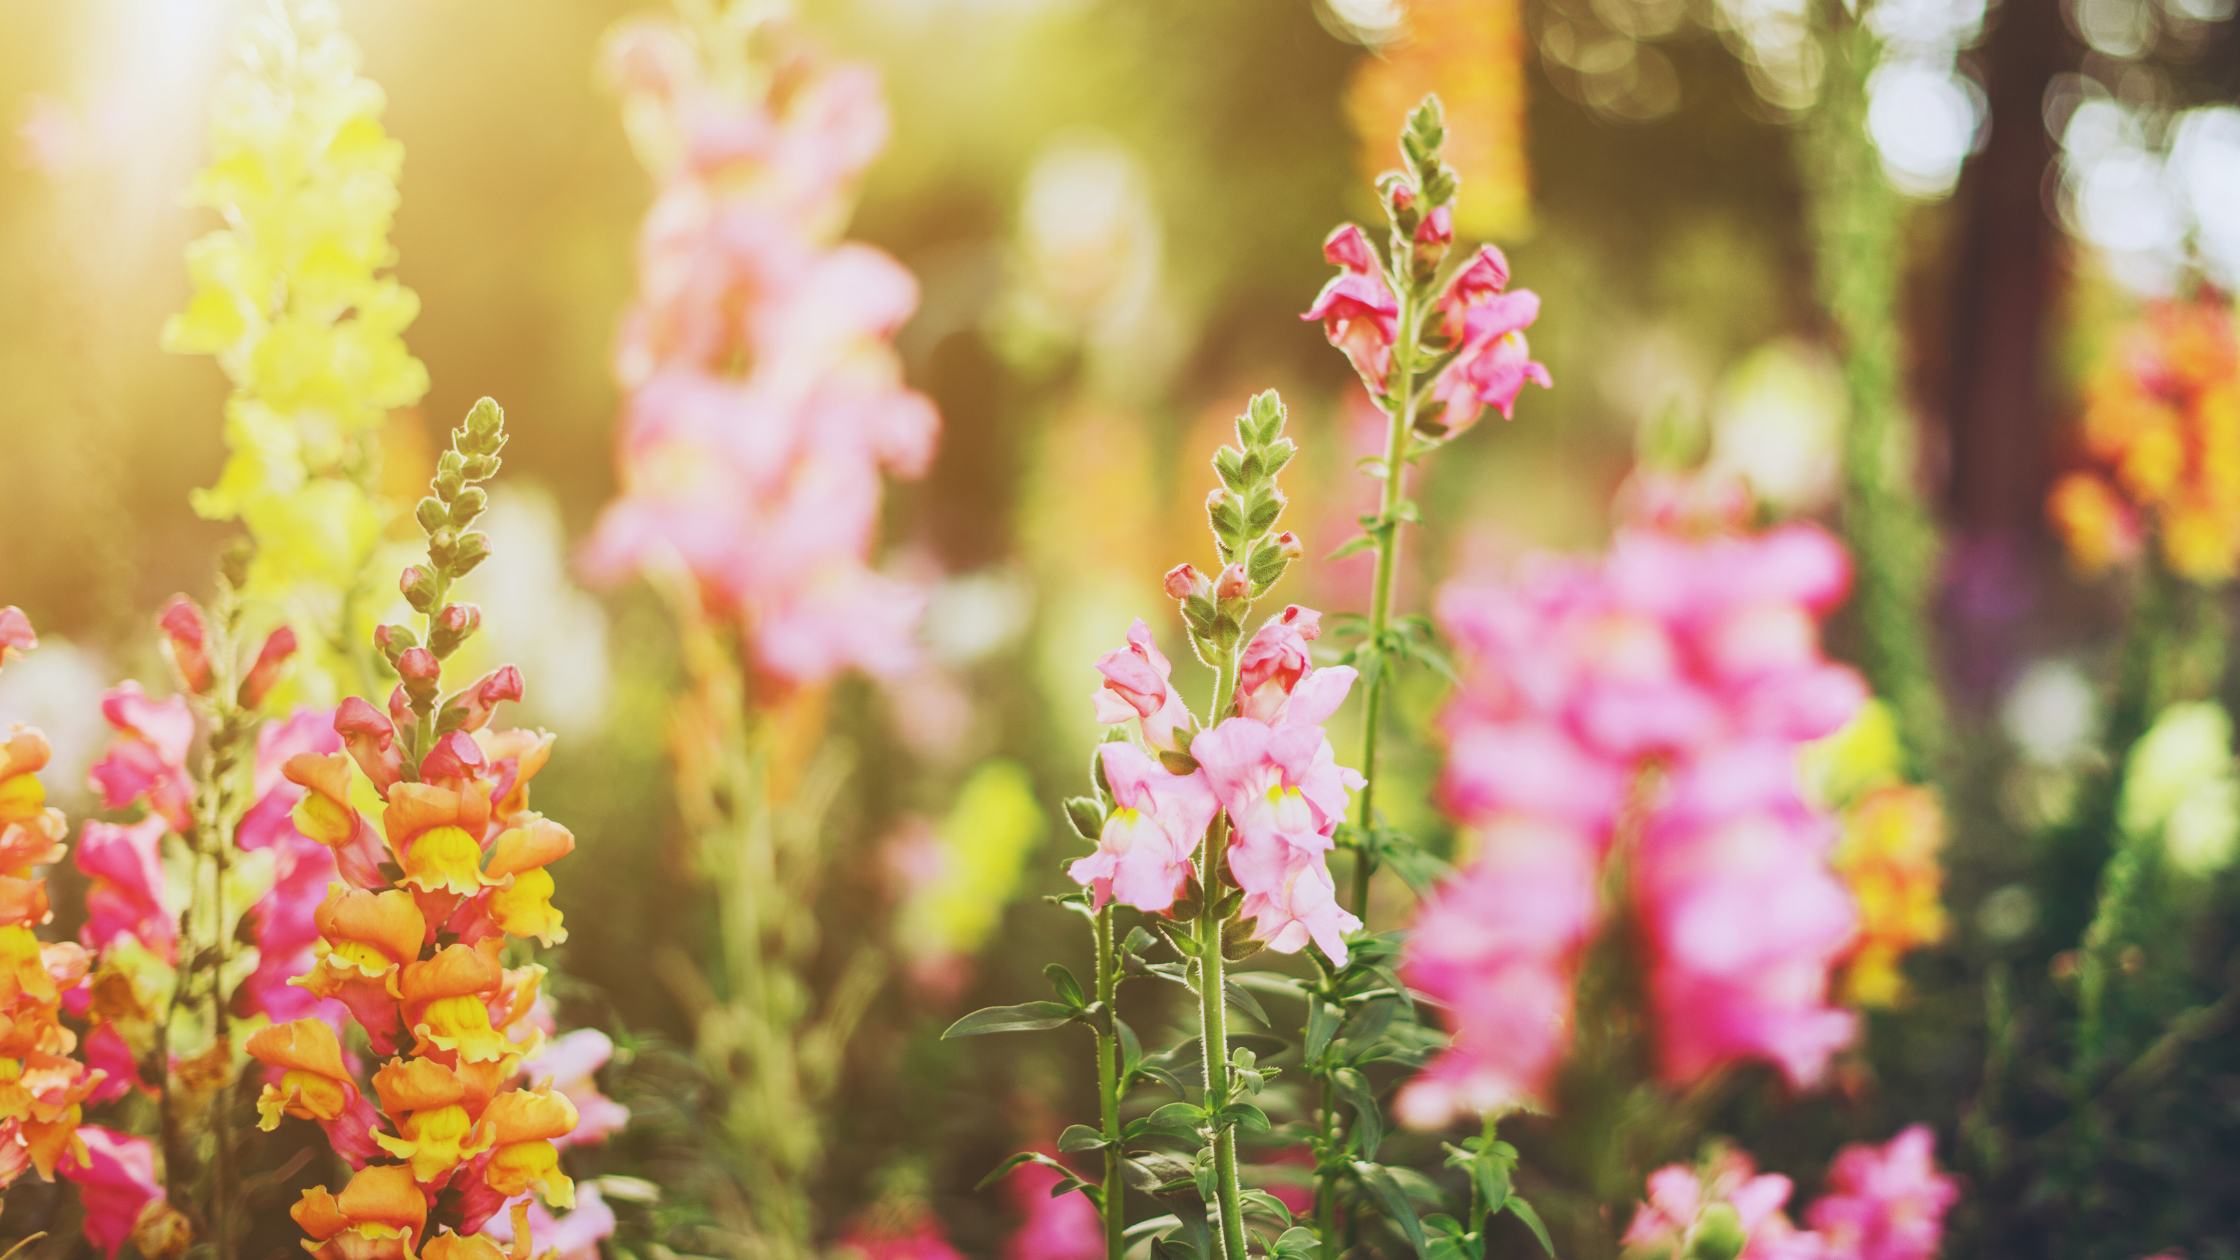
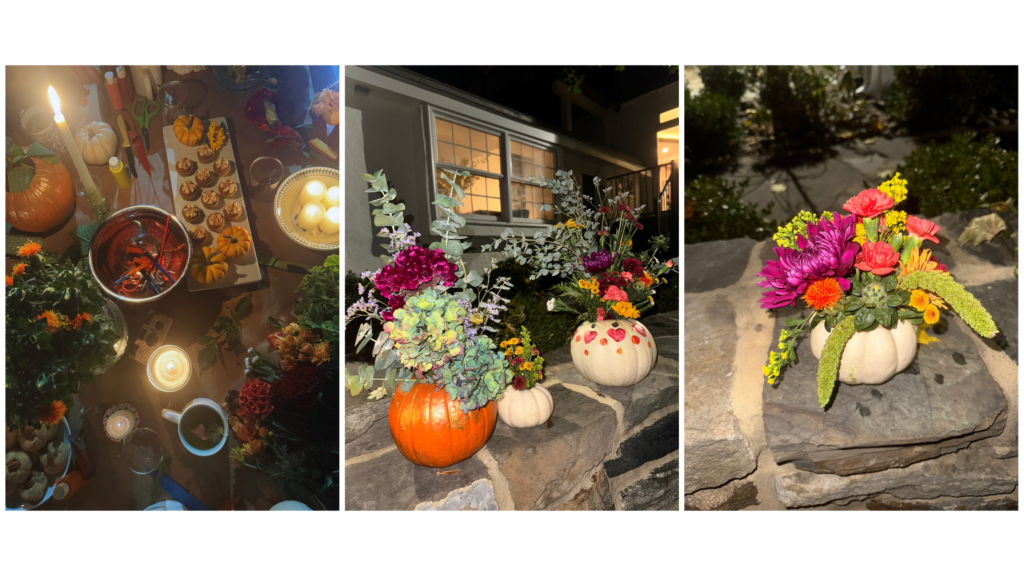
Imagine this: A crisp fall evening, your favorite people gathered around, the fire pit crackling in the background, mugs of hot tea or glasses of wine in hand. There’s laughter, chatter, and the warm glow of friendship as you embark on a creative adventure—making pumpkin flower centerpieces! It felt like a scene right out of Practical Magic, where magic and memories are made. If you’re looking for the perfect girls’ night activity this season, look no further. So grab your girlfriends, some pumpkins, and let’s dive into this easy and fun DIY project that you can display all season long!
Step-by-Step Guide to Making Pumpkin Flower Centerpieces:
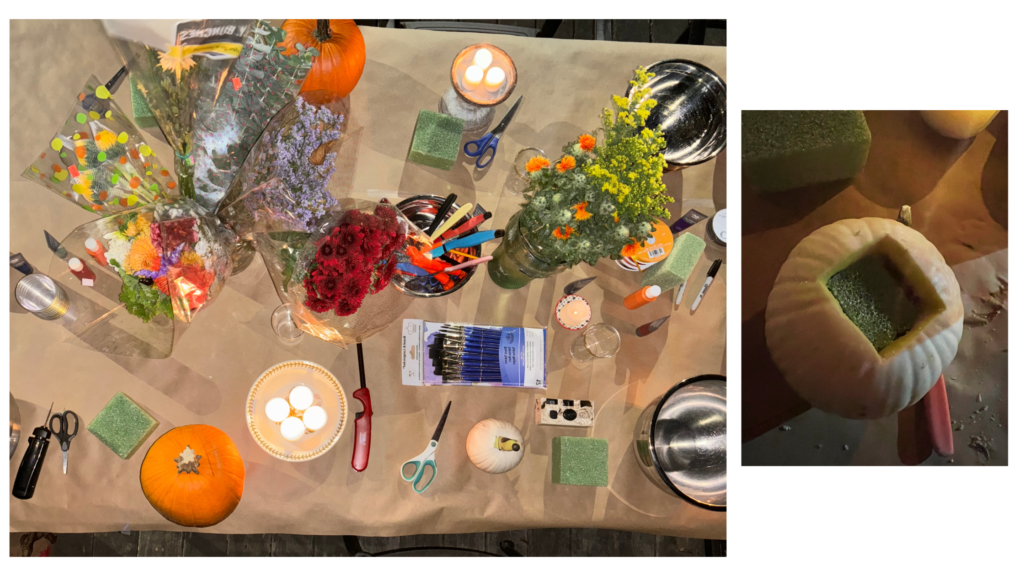
What You’ll Need:
-A medium-sized pumpkin
-Flowers (whatever colors or types you love!)
-Floral foam (oasis foam)
-A serrated knife
-Spoon or ice cream scoop (for the seeds)
-Floral shears or scissors
-Water

Step 1: Pick the Perfect Pumpkin:
Start by selecting a medium-sized pumpkin—one with a sturdy shape works best. This will act as your vase, so think about the flowers you’ll be arranging to complement your pumpkin’s size and color.
Step 2: Carve Off the Top:
Using a serrated knife, carefully cut the top of the pumpkin off. You’ll want to make the hole wide enough to fit your flowers and foam inside. Save the seeds to roast later for a snack!
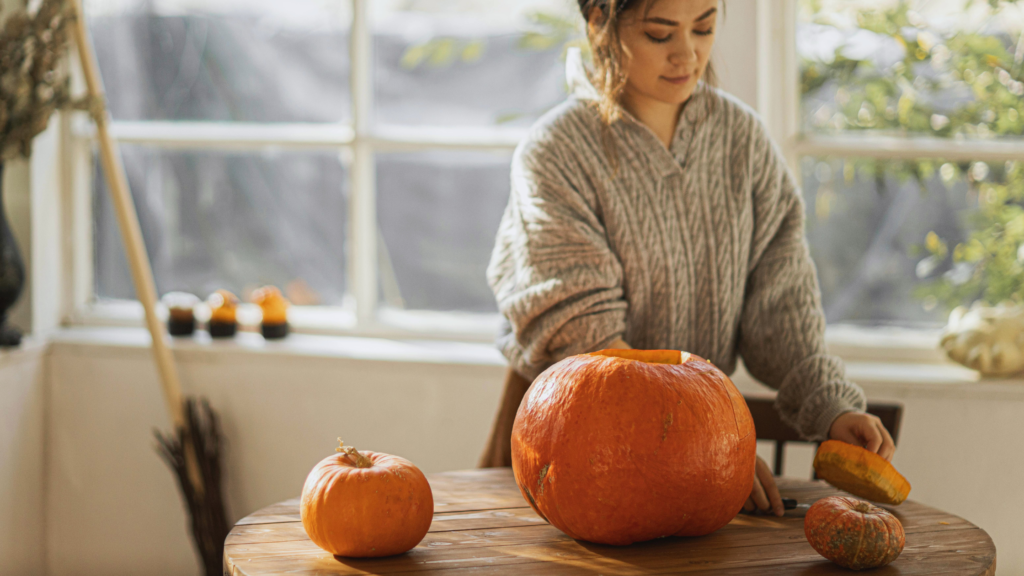
Step 3: Scoop Out the Pumpkin:
Here’s where things get a bit messy but in the best way! Use a spoon (or ice cream scoop for extra ease) to scrape out all the seeds and gooey insides. Once hollow, your pumpkin is ready to be transformed.
Fun fact! Pumpkin seeds are a fall hair superfood so save those seeds and roast them up for salad toppers or as a snack! For more hair superfoods: The Best Fall Superfoods for Healthy Hair
Amazon Best Selling Product Recommendation:
Step 4: Add Floral Foam:
Soak your floral foam in water for a few minutes until it’s fully saturated. This will keep your flowers hydrated for longer. Cut the foam to fit snugly inside the pumpkin. If it’s a bit too big, trim it down with a knife.
Amazon Best Selling Product Recommendation:
Step 5: Start Arranging Your Flowers
Now the fun begins! Start placing your flowers into the foam, beginning with your larger blooms as the focal point. Then, fill in with smaller flowers and greenery, playing around with colors and textures. Make sure your arrangement looks full and balanced from all angles.
Step 6: Display and Enjoy!
Once your masterpiece is complete, find the perfect spot to display it—whether it’s your dining table, porch, or as part of your fall décor. Your pumpkin flower centerpiece will add a seasonal touch of nature to your home.
Bonus Tip: If you’re worried about your pumpkin getting soft, place a small cup inside the hollow pumpkin to hold your floral foam. This will help preserve the life of the pumpkin!
Who said pumpkins are just for carving? This DIY pumpkin flower centerpiece is not only easy to make but also a great way to get creative with your fall décor. Whether you’re hosting a gathering or just want a fun activity to enjoy with friends, give this unique twist on pumpkins a try this season. It’s a guaranteed way to bring a little extra beauty into your home and the perfect excuse to gather your friends, sit under the stars, and make something beautiful together.
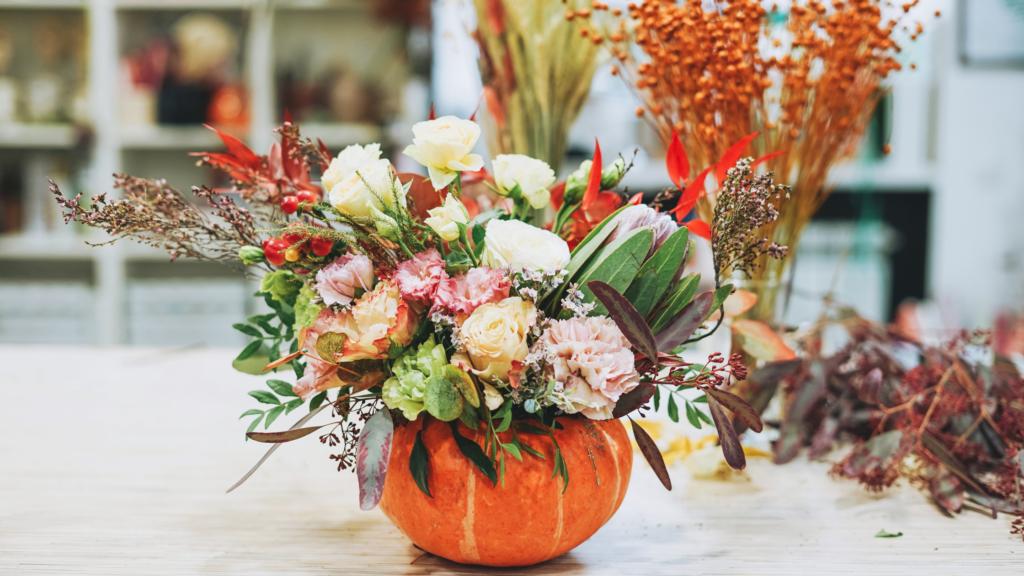
Hope you give this a try. Let me know how your pumpkin centerpieces turn out!
Disclaimer: As an Amazon Associate, we earn from qualifying purchases. This helps support the blog at no extra cost to you!
More fall inspo: 4 Easy Ways to Make the Most of Fall Foliage in Your Yard
