Imagine never having to buy garlic again because you’re growing an endless supply right at home! Garlic is one of the easiest and most versatile crops to grow, and with a little planning, you can enjoy its bounty year-round. From fresh chives and spring onion-like flavors to fully mature garlic bulbs, this powerhouse plant rewards your patience with flavor at every stage.
Let’s walk through how to grow garlic from scratch—starting with a clove from your kitchen, sprouting it indoors, and preparing it for outdoor planting. Whether you live in the frosty north or the sunny south, we’ve broken down everything you need to know by planting zone to make your garlic-growing journey as smooth and rewarding as possible.
Step 1: Starting with a Simple Clove Indoors
The easiest way to begin growing garlic is with an existing garlic bulb in your kitchen. Take a fresh clove, ideally from an organic bulb, and place it in a shallow dish of water, making sure just the bottom of the clove is submerged. Within a week, you’ll start seeing roots emerge, followed by green shoots. Once the roots are about an inch long, your clove is ready to be planted outdoors (or in a pot, if you’re limited on garden space) when the timing is right for your zone.
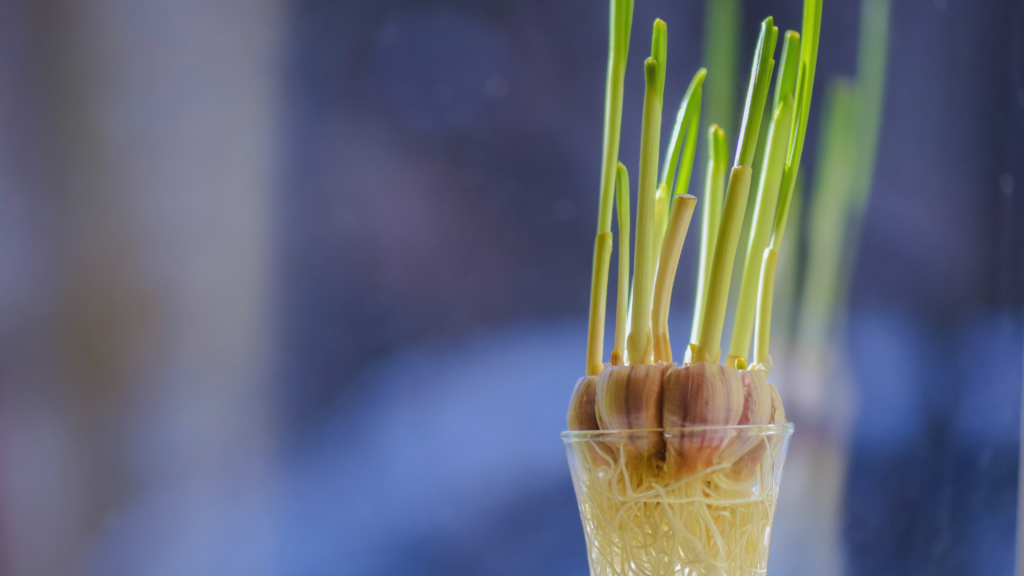
Step 2: Understanding Garlic’s Growth Stages and Uses
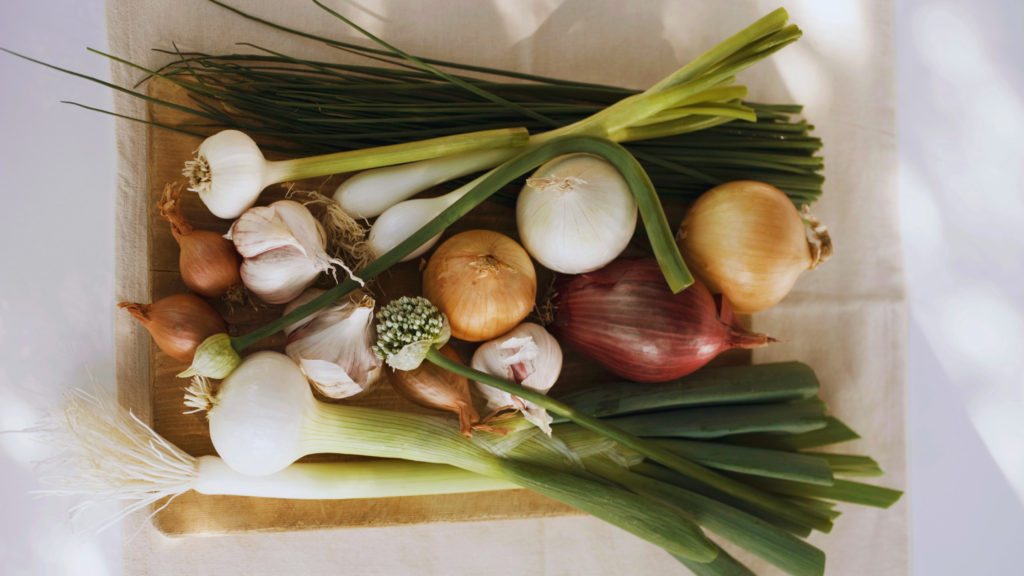
Growing garlic isn’t just about the final bulb; you can enjoy it at multiple stages. Here’s what to expect:
- Chive Stage: These tender, green shoots add a mild garlic flavor to salads, soups, and garnishes. They’re ready for clipping a few weeks after planting.
- Spring Onion Stage: As the garlic grows, the young stalks take on a robust flavor similar to spring onions. Harvest some for cooking or allow them to mature.
- Mature Garlic Bulb: After several months, you’ll be rewarded with fully grown garlic bulbs, ready to be harvested, cured, and stored for months.
Step 3: Zone-by-Zone Planting Guide
Each climate zone has its own timing and considerations for planting garlic. Let’s break down the ideal schedule and methods for each.
Zones 3-4: Cold Climates:
In cooler zones, garlic is typically planted in early autumn to allow roots to establish before the ground freezes. Aim to plant around six weeks before the first hard frost. After planting, cover the garlic with a thick layer of mulch to protect it from extreme cold.
- Best Planting Time: Late September to early October.
- Winter Care: Mulch heavily to insulate; remove in spring as temperatures warm.
Zones 5-6: Mild Winters:
Garlic in these zones thrives when planted in October. This timing ensures enough cool weather for root development but reduces the risk of the garlic sprouting too early.
- Best Planting Time: October.
- Winter Care: Light mulch will suffice; check for any early sprouting and cover if needed.
Zones 7-8: Warmer Zones:
In warmer climates, plant garlic in late fall for a spring harvest. Garlic will overwinter in these zones, but keep an eye on temperatures as mild winters can encourage early growth.
- Best Planting Time: Late October to early November.
- Winter Care: Minimal mulching is necessary; monitor moisture levels if winters are rainy.
Zones 9-10: Warm to Hot Climates:
For these warmer regions, spring planting is ideal to avoid overly mild winters. Garlic will need steady care as it establishes.
- Best Planting Time: Late January to February.
- Winter Care: Keep the soil consistently moist, but avoid waterlogging.
Step 4: How Much to Plant for a Year-Round Supply
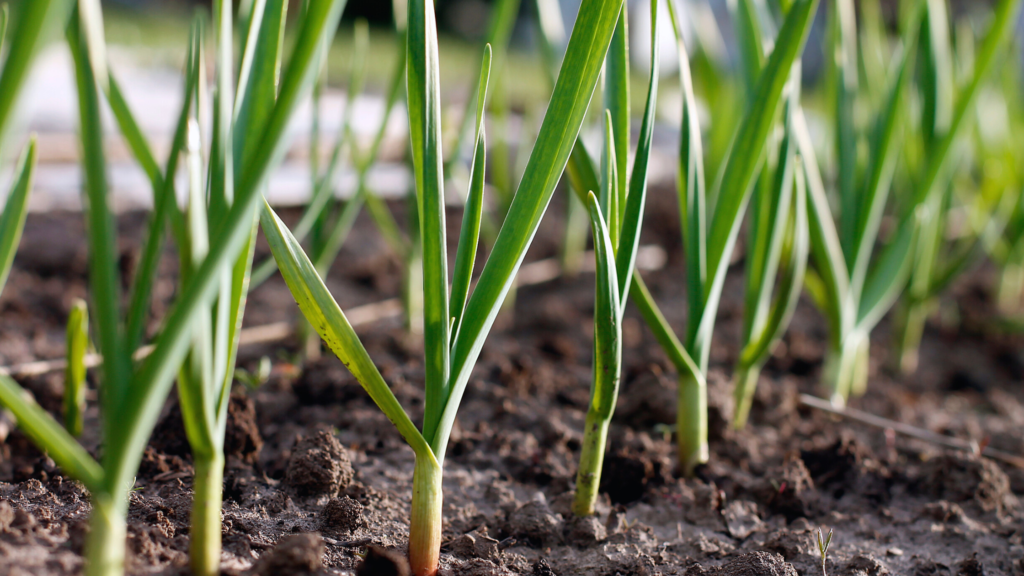
If you’re aiming for self-sufficiency, planting enough garlic is key. As a rough guide, plant one to two garlic bulbs per person in your household. Each clove planted will yield one full bulb, so a bulb with ten cloves will provide ten mature garlic heads. For example, a household of four would ideally plant 20-40 cloves for a year’s supply.
- Storage Tip: After curing, store garlic bulbs in a cool, dry place to extend their shelf life.
- Continuous Growing: Save some cloves from your harvest to plant the following season, creating a sustainable garlic cycle.
Step 5: How to Tell When Garlic is Ready to Harvest
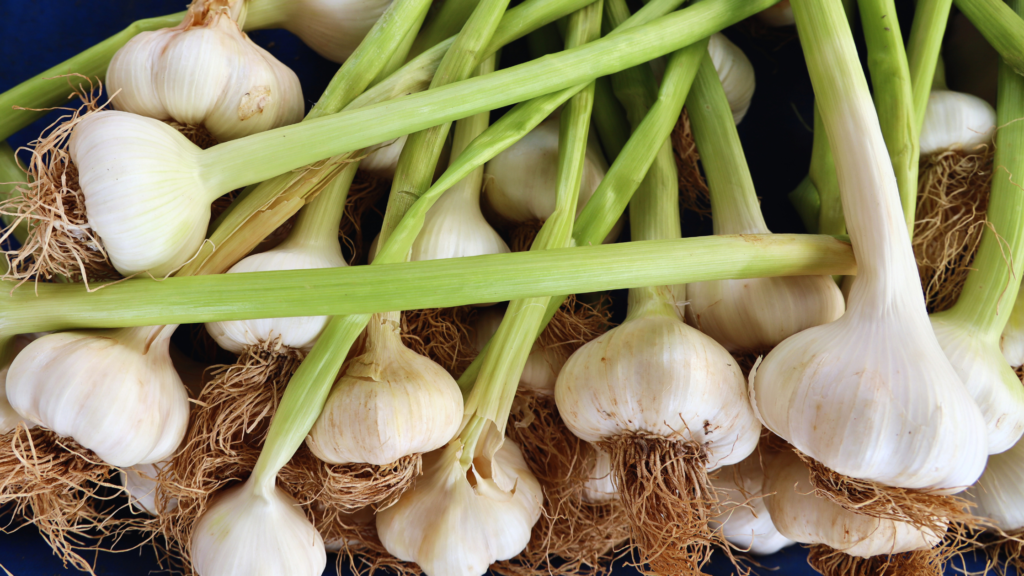
Garlic generally takes about 8-9 months to mature from planting to a full-size bulb, depending on the variety and growing conditions. Most garlic planted in fall will be ready to harvest by early summer. Here are a few easy signs to look for:
- Leaf Color: When the lower leaves begin to turn yellow and dry out, but a few upper leaves remain green, it’s a good indicator the garlic is nearly ready. The green leaves left on the plant correspond to the layers of skin around the bulb that protect it during storage.
- Feel Test: Gently dig up a bulb or two to check. The outer skin should be firm, and the cloves should be plump. If the cloves are still loosely packed, give the garlic a bit more time.
- Timing by Zone: In colder zones, this may mean harvesting in mid to late summer, while in warmer zones, late spring or early summer may be ideal.
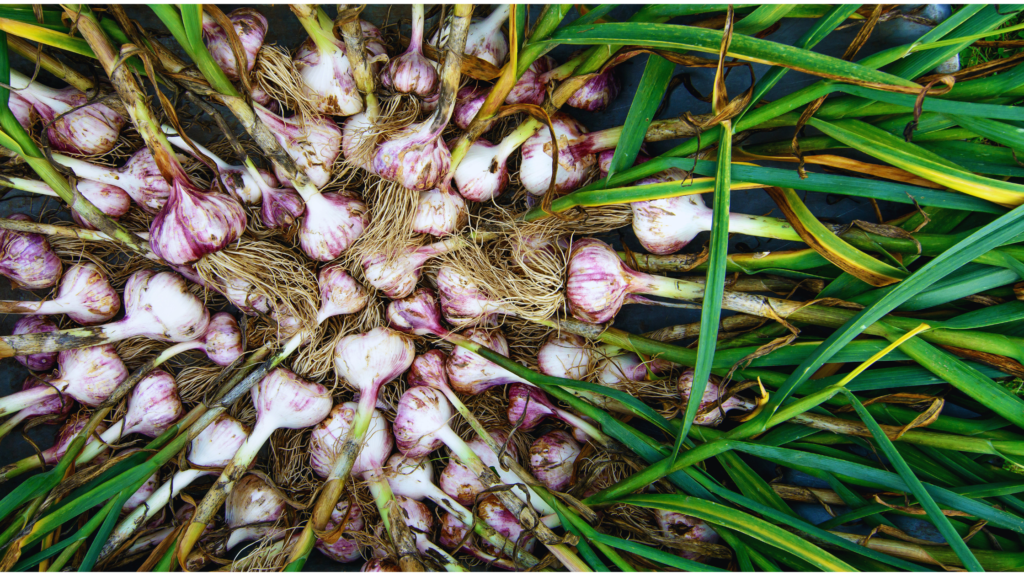
By using these simple hacks, you’ll know just when to pull your garlic and cure it for long-lasting storage. Harvesting at the right time helps preserve the bulb’s flavor and ensures the cloves are dense and firm.
Step 6: Storing Your Garlic for Maximum Freshness
Once harvested, garlic needs a bit of curing to ensure it stays fresh and flavorful for months. Follow these steps to properly store your garlic and make it last:
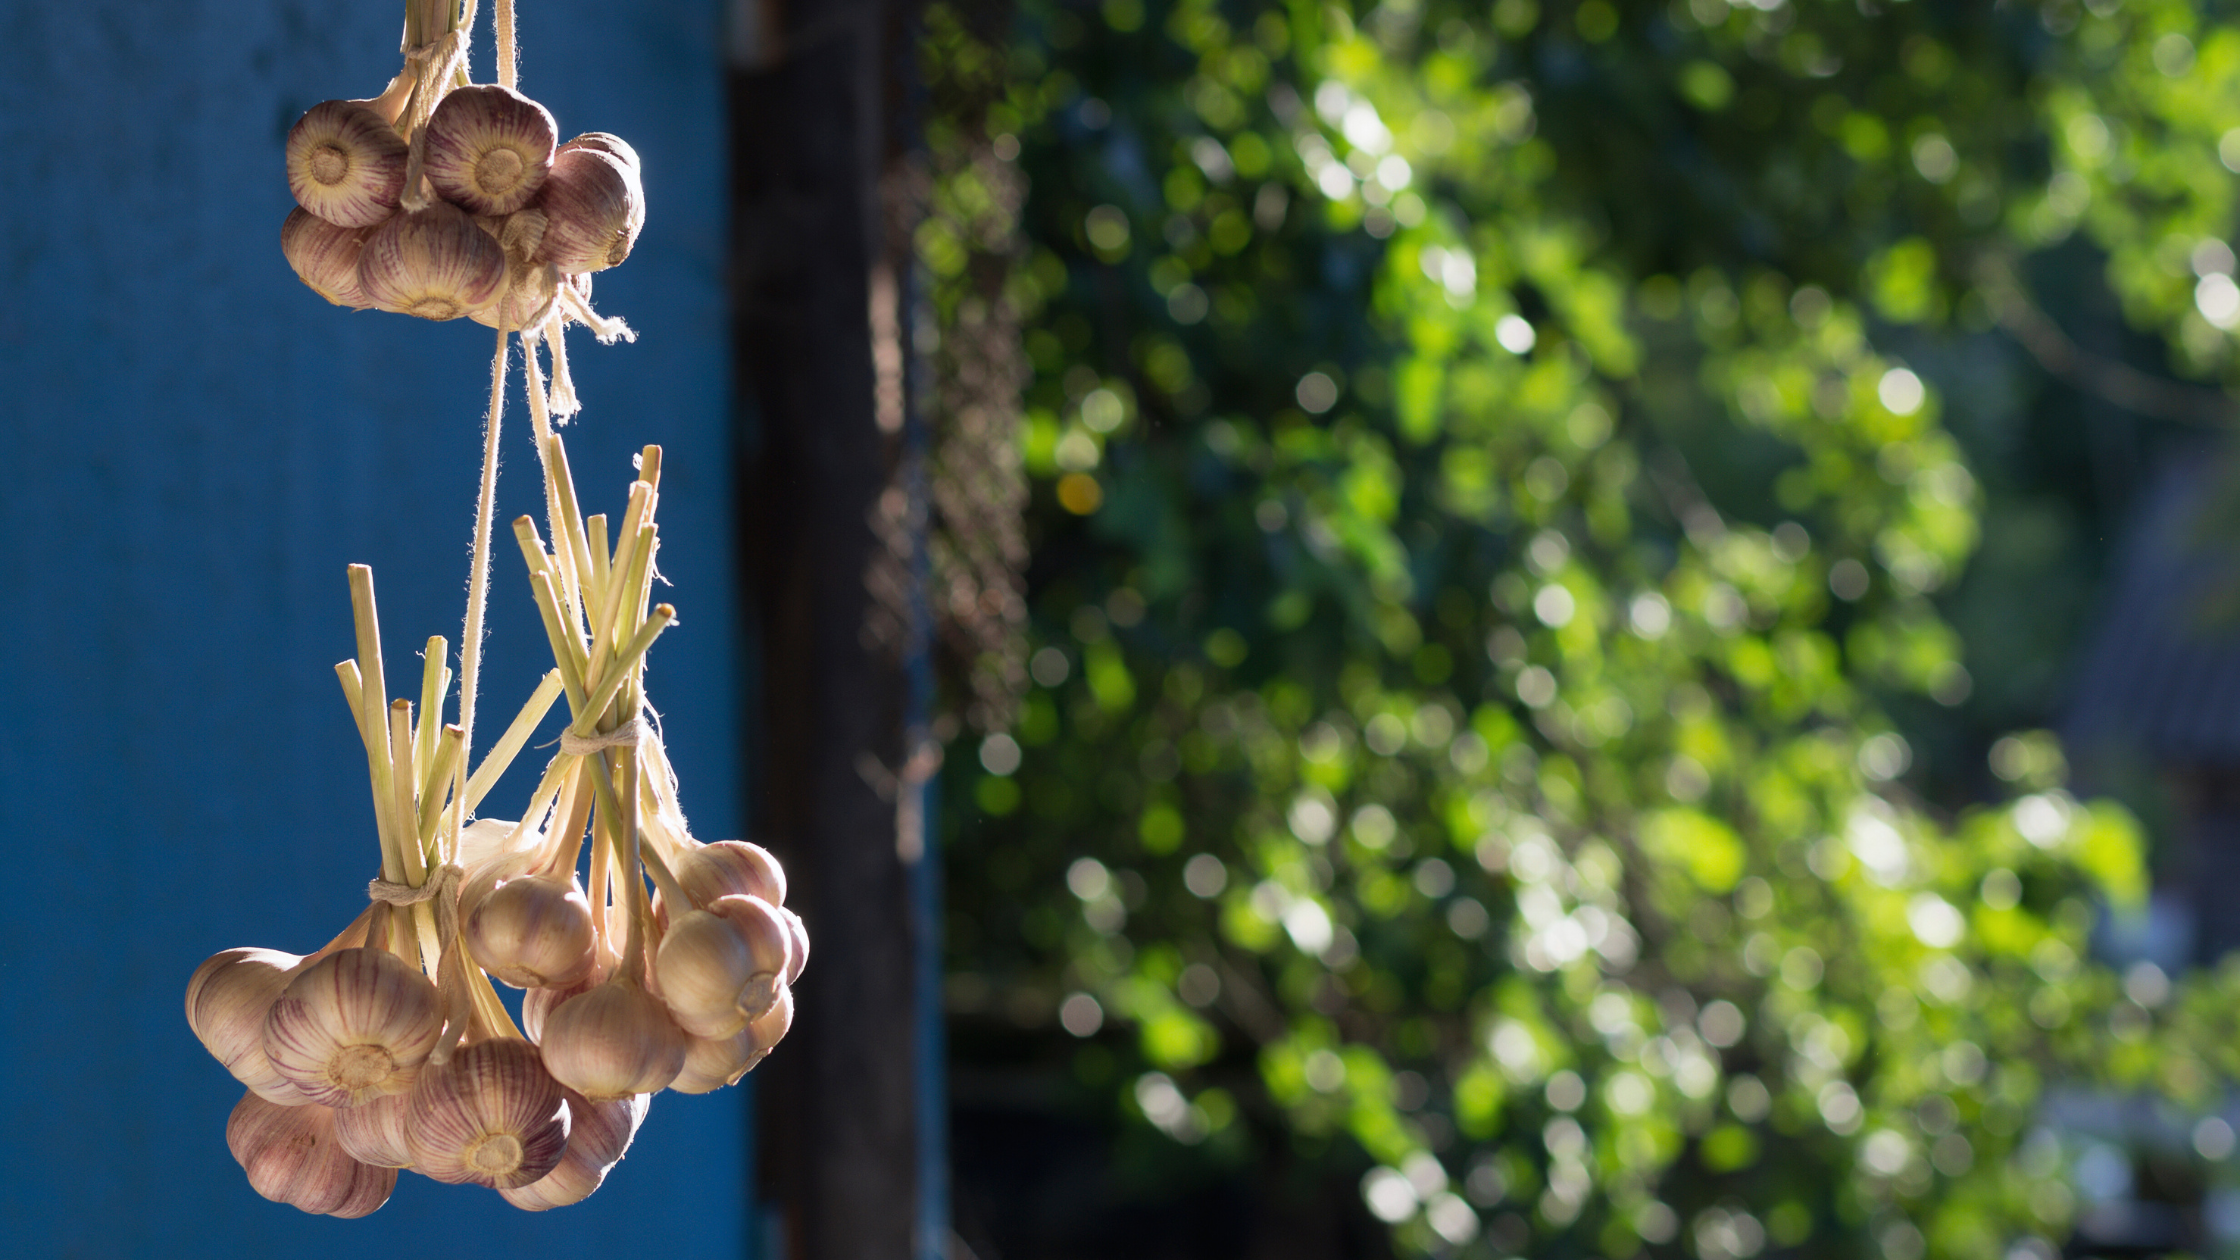
- Cure the Garlic: After harvesting, gently brush off any dirt and let the garlic bulbs cure in a dry, well-ventilated area out of direct sunlight. Lay them out in a single layer or hang them in small bunches. Curing usually takes 2-3 weeks, during which the outer layers of skin dry and protect the cloves inside.
- Trim and Store: Once cured, trim the roots and cut the stems, leaving about an inch if you prefer a “soft-neck” storage style. Store the garlic in a cool, dry place—ideal storage is around 60-65°F with low humidity.
- Storage Methods: Mesh bags, paper bags, or baskets work well for storing garlic, as they allow air to circulate and help prevent mold or sprouting. Avoid plastic bags or sealed containers, which trap moisture and shorten shelf life.
- Shelf Life: When properly cured and stored, garlic can last 6-8 months. Hardneck varieties tend to store well for about 4-6 months, while softneck varieties, which typically have a longer shelf life, can stay fresh for up to 8 months or more.
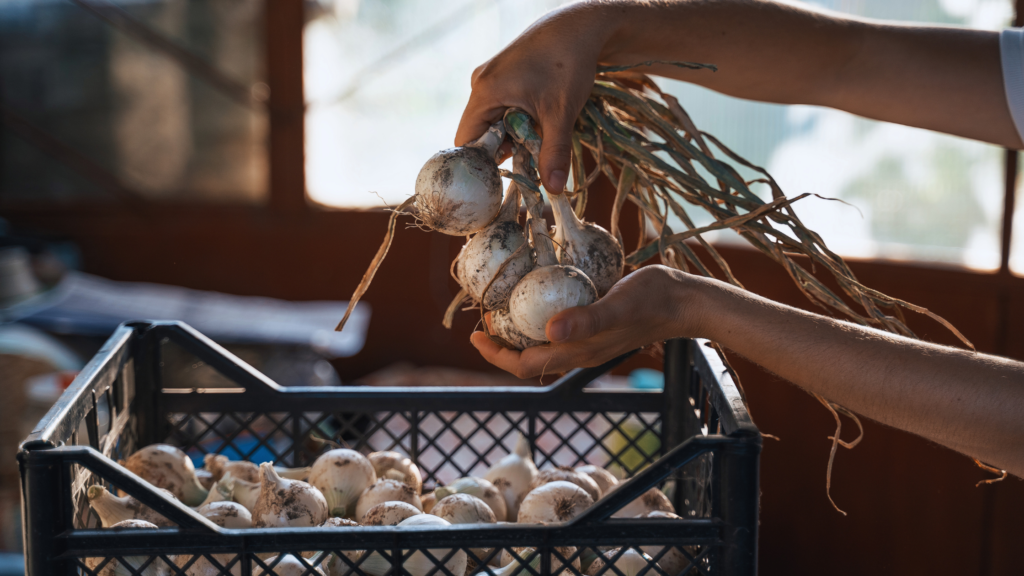
With proper storage, you’ll have fresh garlic on hand well into the following year, ensuring you’re always stocked until your next harvest!
Growing garlic is one of the simplest, most rewarding gardening projects you can undertake. Starting with a single clove, you can cultivate an abundant supply that will last you through the year. No matter your planting zone, following this guide will set you up for a successful garlic harvest and a self-sustaining cycle that ensures you’ll never need to buy garlic again.
So grab that clove from your kitchen, give it some water, and let your garlic journey begin! x
If you’re looking for the highest quality organic garlic bulbs and cloves to plant in your organic vegetable garden and want to purchase them SEEDSNOW is the place to go for ALL your flower, herb and vegetable seeds.
